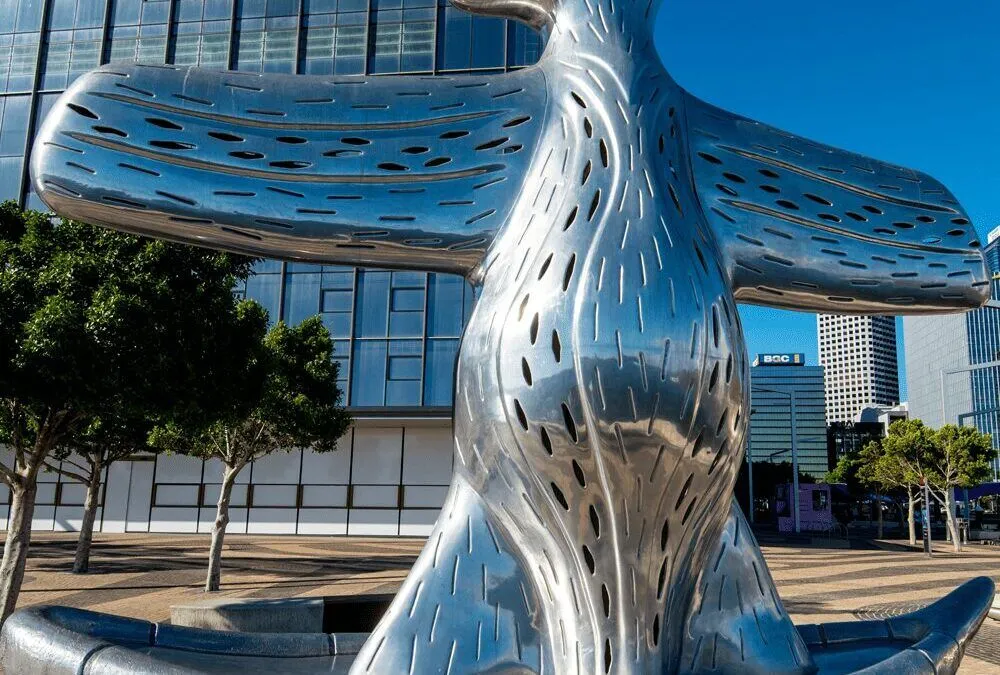
Aluminium is one of those materials that looks “designer” when it’s finished well, but it’s also forgiving enough for a weekend DIYer to learn on. Aluminium is lightweight, easy to shape with common tools, and it can go in a lot of different directions, from clean, modern wall panels to layered mixed media pieces.
Why Aluminium Works So Well for DIY Art
Aluminium hits a practical sweet spot for DIY artwork. You can make something large without it becoming absurdly heavy, and you can get a crisp, modern look without needing specialist equipment.
A few reasons aluminium is DIY-friendly include:
- Lightweight strength: You can create larger wall pieces without needing heavy-duty fixings.
- Easy to cut and shape: With the right blade and a steady setup, aluminium sheet cuts cleanly.
- Versatile finishes: Brushed, polished, painted, clear-coated, or layered behind other materials.
- Indoor and outdoor potential: Aluminium holds up well, especially with the right mounting and finish choices.

Safety First (Because Aluminium Bites Back)
Aluminium is not “dangerous” in the dramatic sense, but it’s sharp, it throws swarf, and it can turn a casual project into a trip for bandages if you rush. A little basic safety makes the whole experience smoother.
Keep it simple:
- Wear gloves when handling raw edges, but take them off around spinning tools if they could snag.
- Wear eye protection whenever you cut, drill, sand, or brush.
- Wear hearing protection if you’re using a circular saw, grinder, or anything loud for more than a quick cut.
- Clamp your work. Most DIY injuries happen when the material shifts.
- Support both sides of the cut, especially with sheet, so it does not vibrate, fold, or grab.
- Clean up swarf and dust. Aluminium fragments get everywhere and love tyres, feet, and pets.
- If you’re sanding a lot, use a dust mask and work with airflow.
- If you’re spraying primer, paint, or clear coat, use proper ventilation and the right mask for fumes, and keep away from sparks or flames.
Planning Your Artwork So It Looks Intentional
A clean result is usually decided before you start cutting. Aluminium rewards planning because it shows flaws: crooked lines, uneven spacing, and rushed finishing stand out on reflective surfaces.
A quick planning checklist:
- Decide the viewing distance (up close detail piece vs bold wall feature).
- Choose your finish direction early (brushed grain direction matters).
- Work out your mounting method before drilling anything.
- If layering shapes, plan your spacers and shadow gaps.
- Do a cardboard template first if you’re unsure about proportions.
DIY Aluminium Artwork Ideas You Can Build at Home
If you want inspiration that’s achievable without specialist tools, these options work well with aluminium sheet, offcuts, and basic finishing. Each idea can be scaled up or down depending on your space and tools.
Minimalist Brushed Aluminium Wall Panel
This is the “it looks expensive” classic. The secret is consistent grain and clean edges.
- Cut a rectangle or series of panels
- Brush the surface in one direction only
- Add standoff mounts for a floating effect
- Clear coat to reduce fingerprints
Layered Aluminium Silhouette Art
Layering gives depth without heavy sculpture work. It also makes small imperfections less noticeable because the shadows do the heavy lifting.
- Cut 2 to 5 silhouette layers (mountains, skylines, abstract shapes)
- Use spacers between layers
- Mix finishes: brushed base, painted top layer
- Frame it to hide edge imperfections
Geometric Cut-Out Panel with Backing Colour
This works great if you want a bold graphic style without needing advanced shaping. Your backing colour becomes part of the design.
- Cut repeating shapes (circles, hexagons, triangles)
- Add a coloured backing board or painted timber behind
- Use rivets or hidden screws for an industrial look
Embossed Relief Using Simple Tools
You can create texture without fancy gear by working from the back. The finish step is what makes the detail pop.
- Place aluminium over a soft surface (rubber mat, leather, dense cardboard)
- Use rounded tools to push shapes from the rear
- Flip and refine details from the front
- Finish with light brushing to highlight texture
Mixed Media Aluminium and Timber Piece
Aluminium pairs well with warm materials. Timber also makes mounting easier and helps the artwork feel finished.
- Use timber as the frame or backing
- Mount aluminium shapes on top
- Combine matte timber with brushed aluminium for contrast
- Keep fixings consistent so it feels designed, not random
Outdoor Aluminium Garden Art (Mounted Properly)
Outdoor pieces can be simple if you plan for weather. The goal is to avoid trapped moisture and avoid metal combinations that cause corrosion.
- Choose thicker aluminium for stiffness
- Avoid direct contact between dissimilar metals where possible
- Seal edges and consider a durable clear coat
- Mount securely so wind does not flex the sheet
Bottomline
Aluminium is one of the most flexible materials you can use for DIY artwork because it can be clean and minimal, textured and layered, or bold and colourful, depending on how you cut and finish it. If you focus on three things, you’ll get a result that looks intentional: choose the right thickness, take surface prep seriously, and plan the mounting before you start drilling.